Creating a Custom Lifecycle
Note
To view the Enterprise menu, the user must be associated with a Security Role that has the appropriate access rights.
In addition to the standard static Lifecycle for content approval, FieldLogs also allows you to design a dynamic Custom Lifecycle to edit, review, publish, and test Templates. Custom Lifecycles are also used to build Resolution Flows for Incidents.
With Custom Lifecycles, you can incorporate complex business rules. Various user forms can be added to different stages of the Custom Lifecycle. The sequence flow in the Custom Lifecycle can be then based on the user input in these forms.
A BPMN (Business Process Modeling Notation) Editor is used to model and customize the workflow required for a Custom Lifecycle.
Steps to Create a Custom Lifecycle
To add a Custom Lifecycle:
From the main menu, go to > .
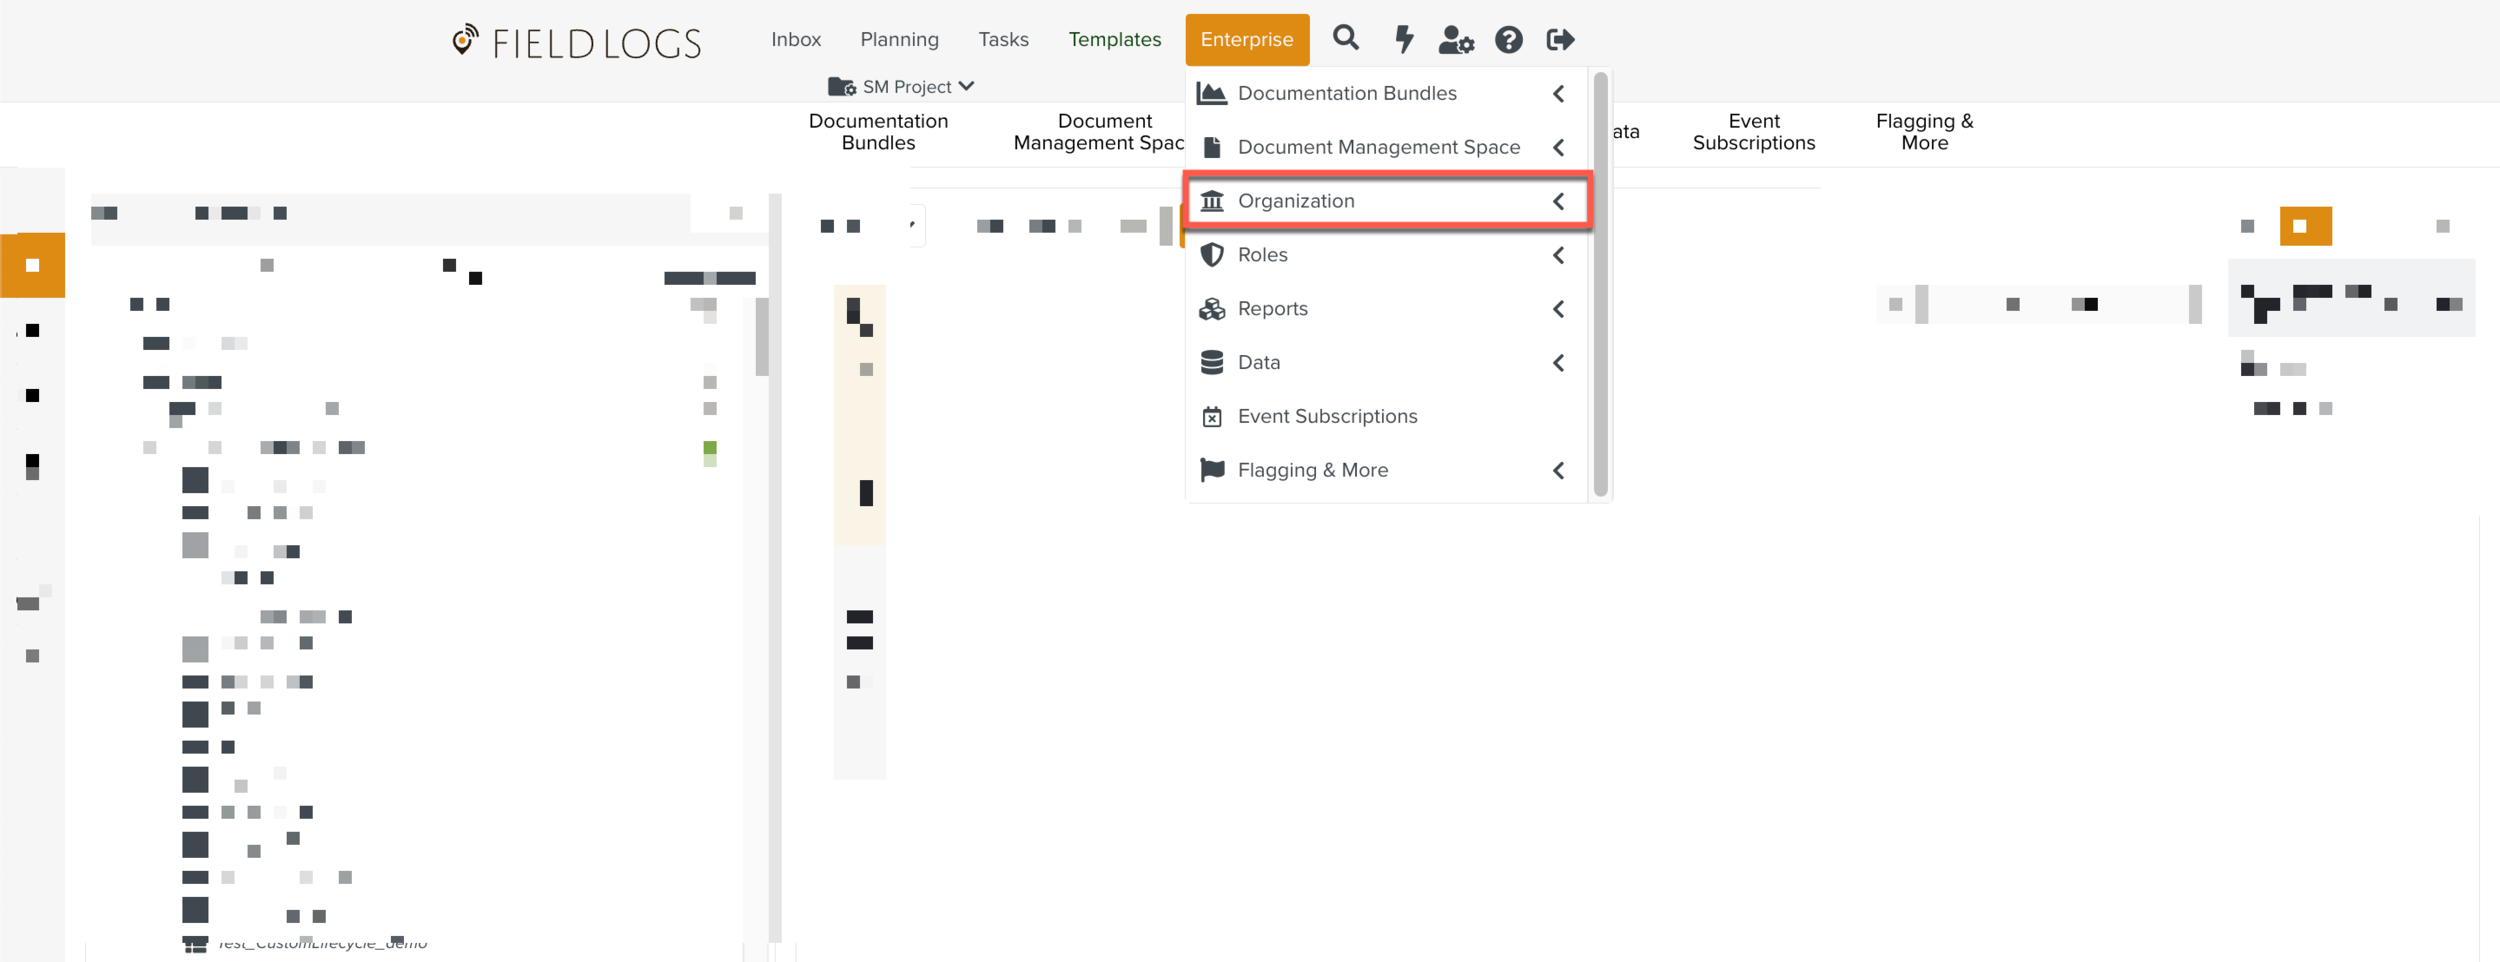
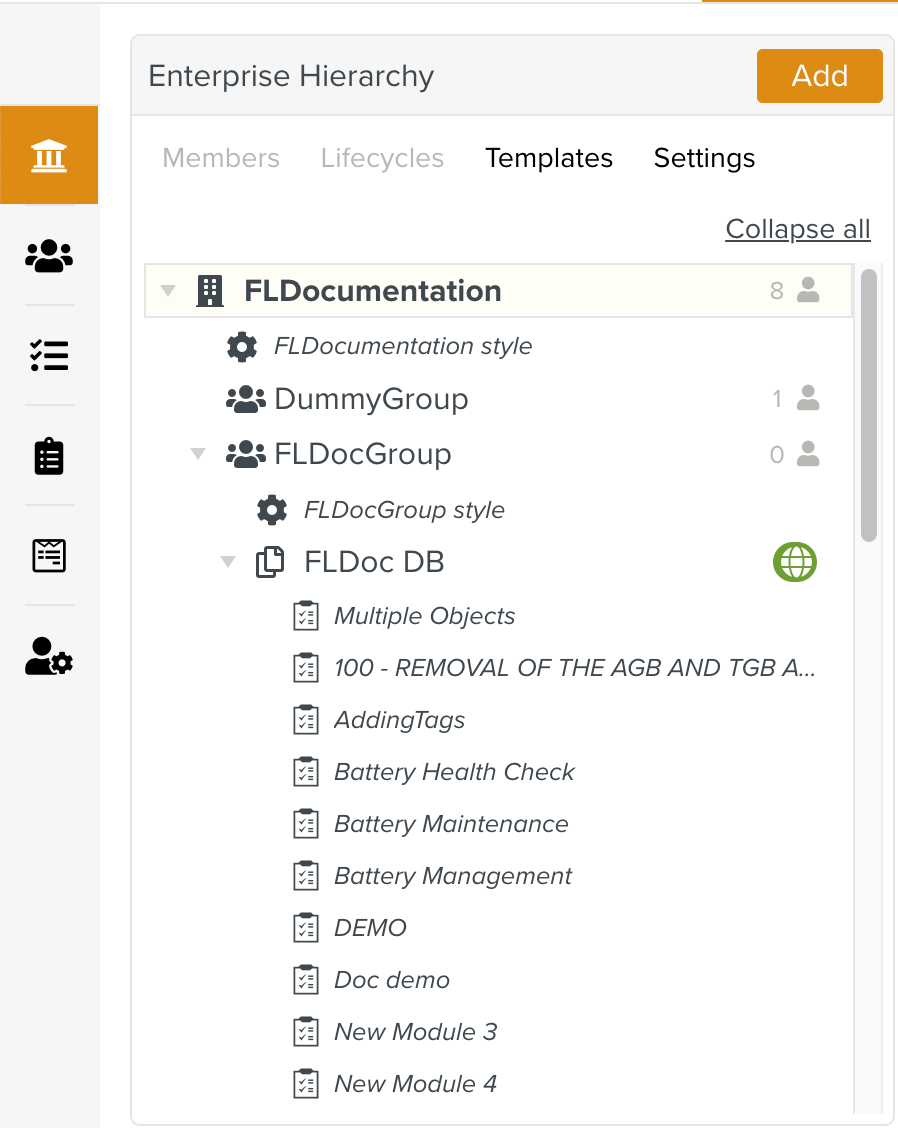
The Enterprise Hierarchy is displayed.
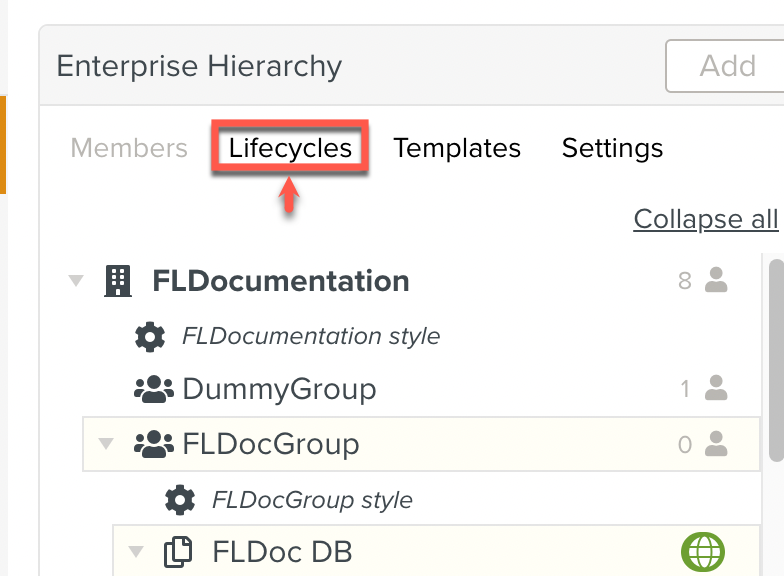
Click Lifecycles.
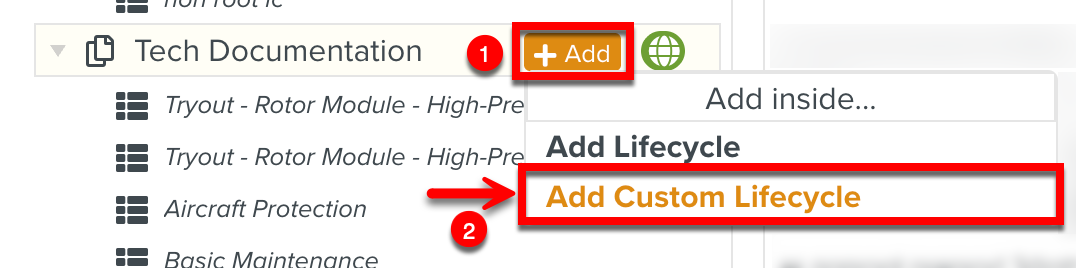
Click against the Template DB to which the new Custom Lifecycle is to be added and select as shown below.
Enter the name of the new Custom Lifecycle and click .
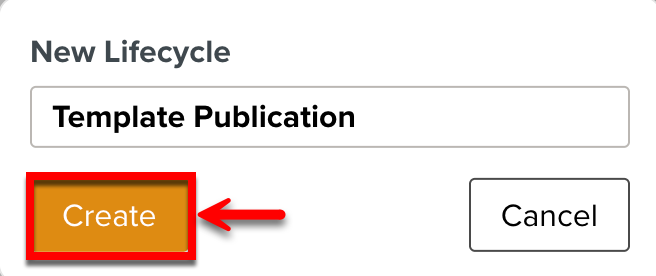
A blank canvas to create your Custom Lifecycle appears.
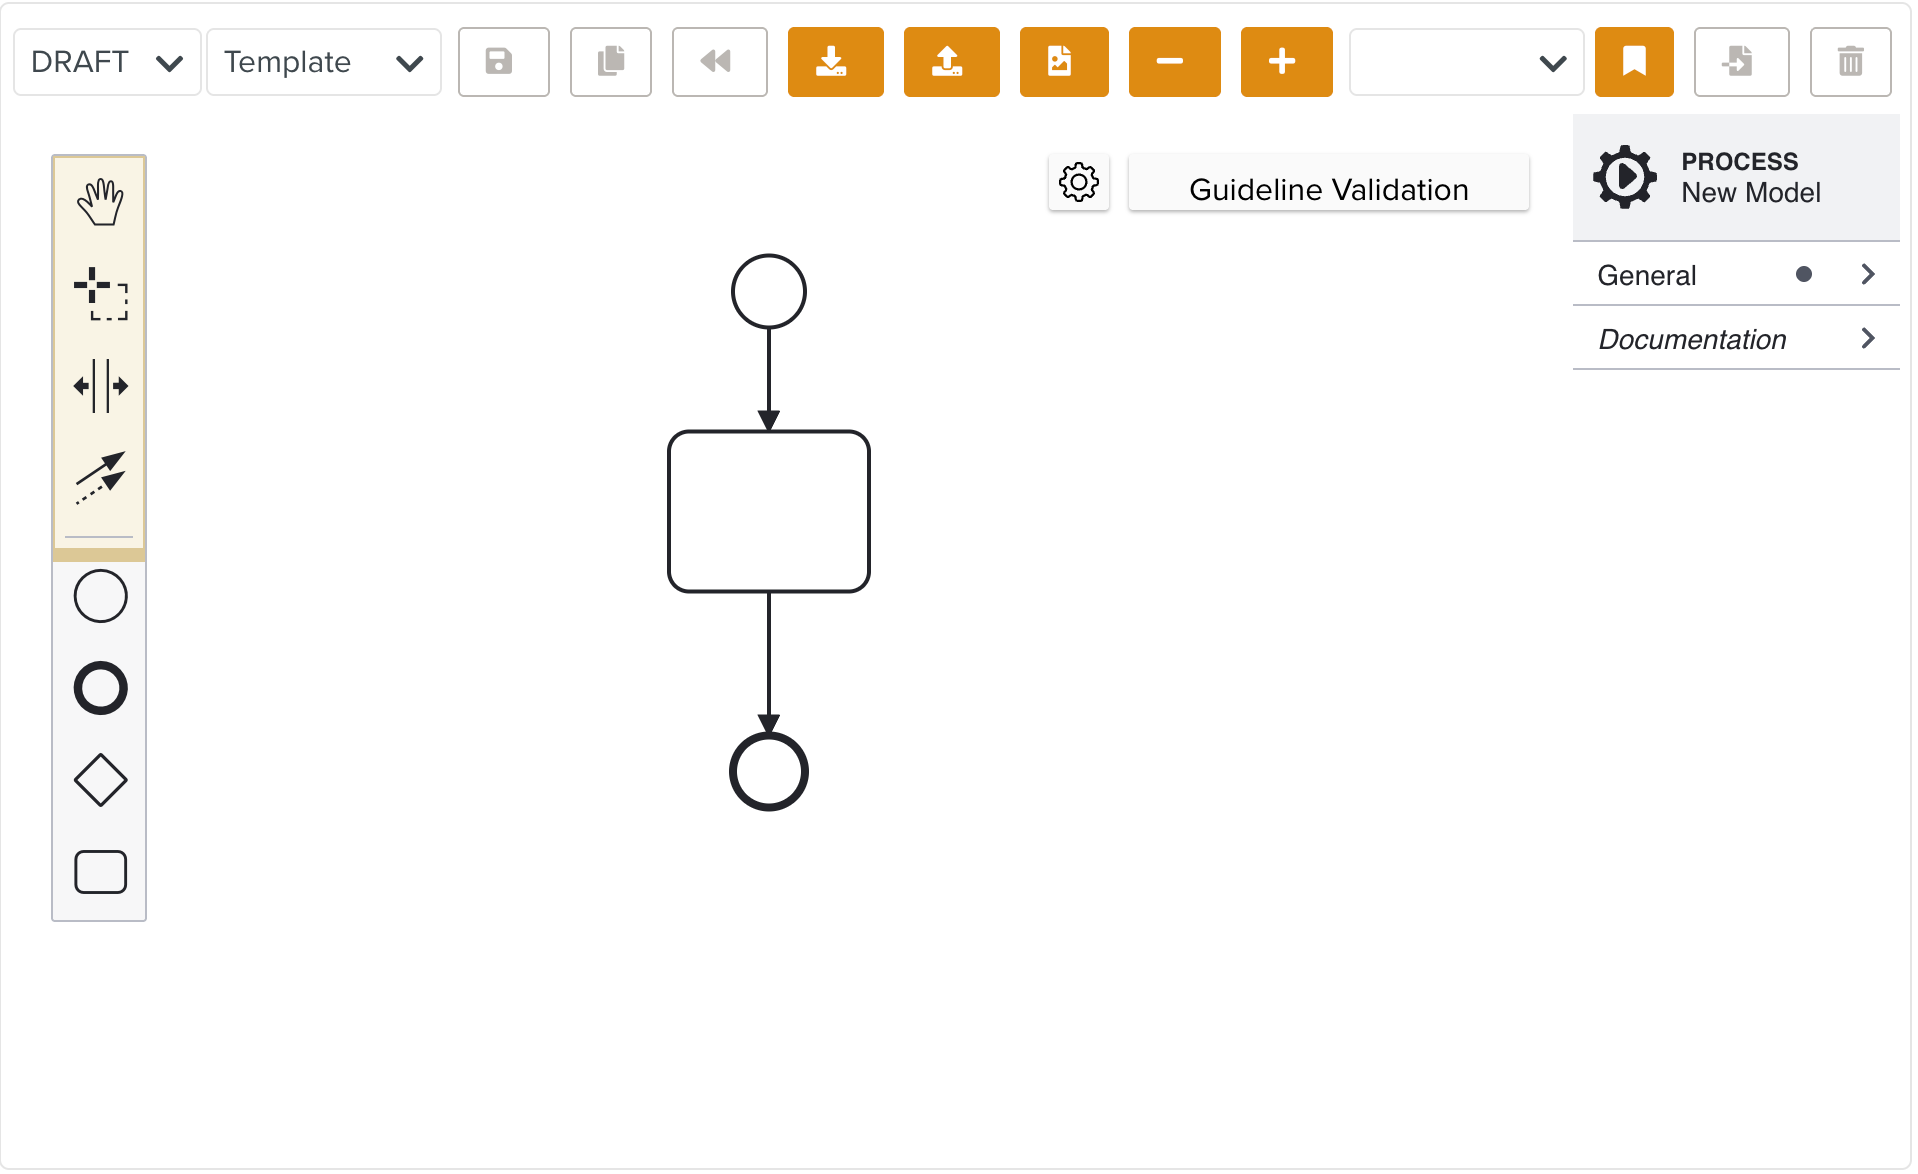
Note
FieldLogs uses a visual modeling language, Business Process Modeling Notation (BPMN) to specify the process workflow of the Custom Lifecycle.
Select a Custom Lifecycle type from the dropdown.
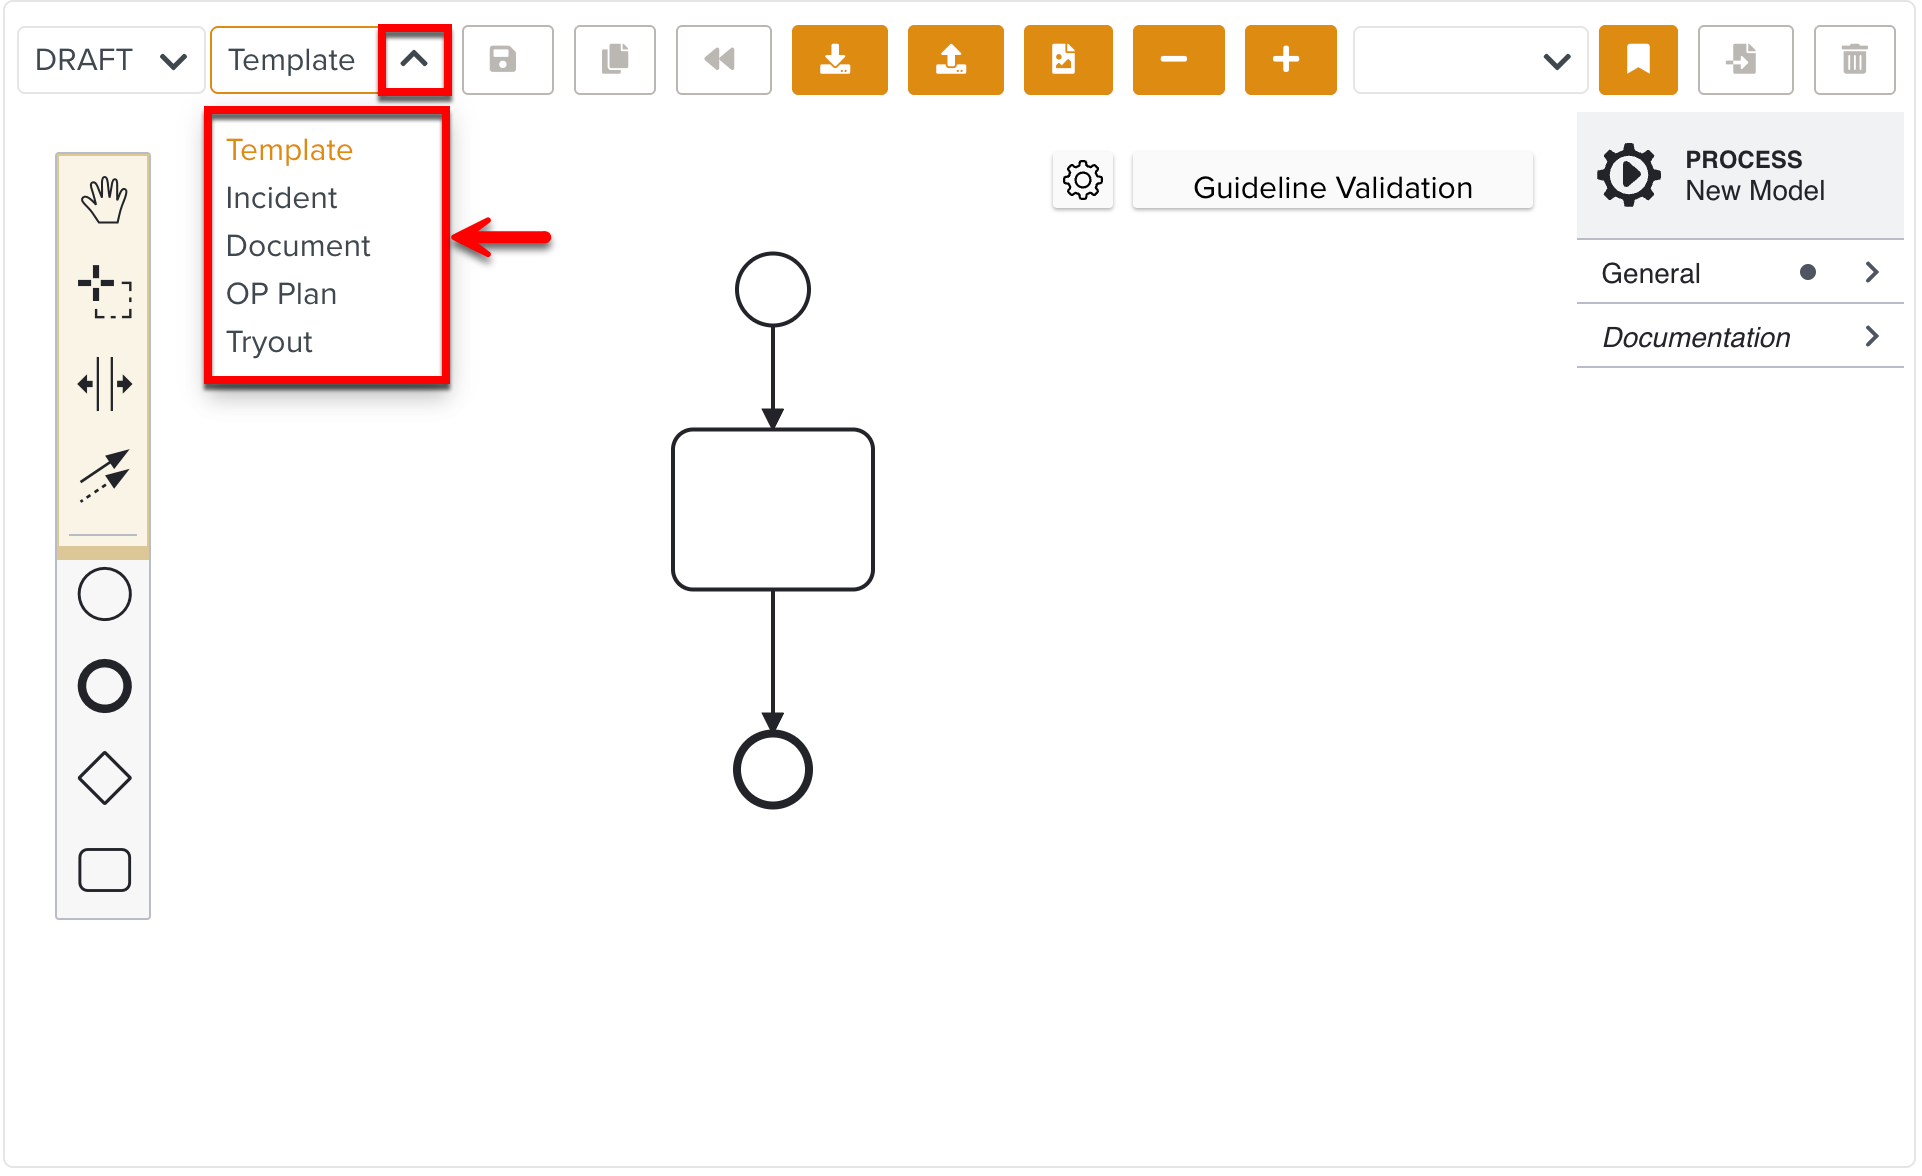
The following options are listed in the dropdown:
Template: If you select Template, the Custom Lifecycle created is available for Template Publication.
Incident: If you select Incident, the Custom Lifecycle created is available as the Resolution Flow of an Incident.
Document: If you select Document, the Custom Lifecycle created is available for Document Creation, Update, and Deletion Approval.
OP Plan: If you select OP Plan, the Custom Lifecycle created is available for the execution of Operation Plan Tasks.
Tryout: If you select Tryout, the Custom Lifecycle created is available for performing Tryouts.
Note
By default the Template option is selected.
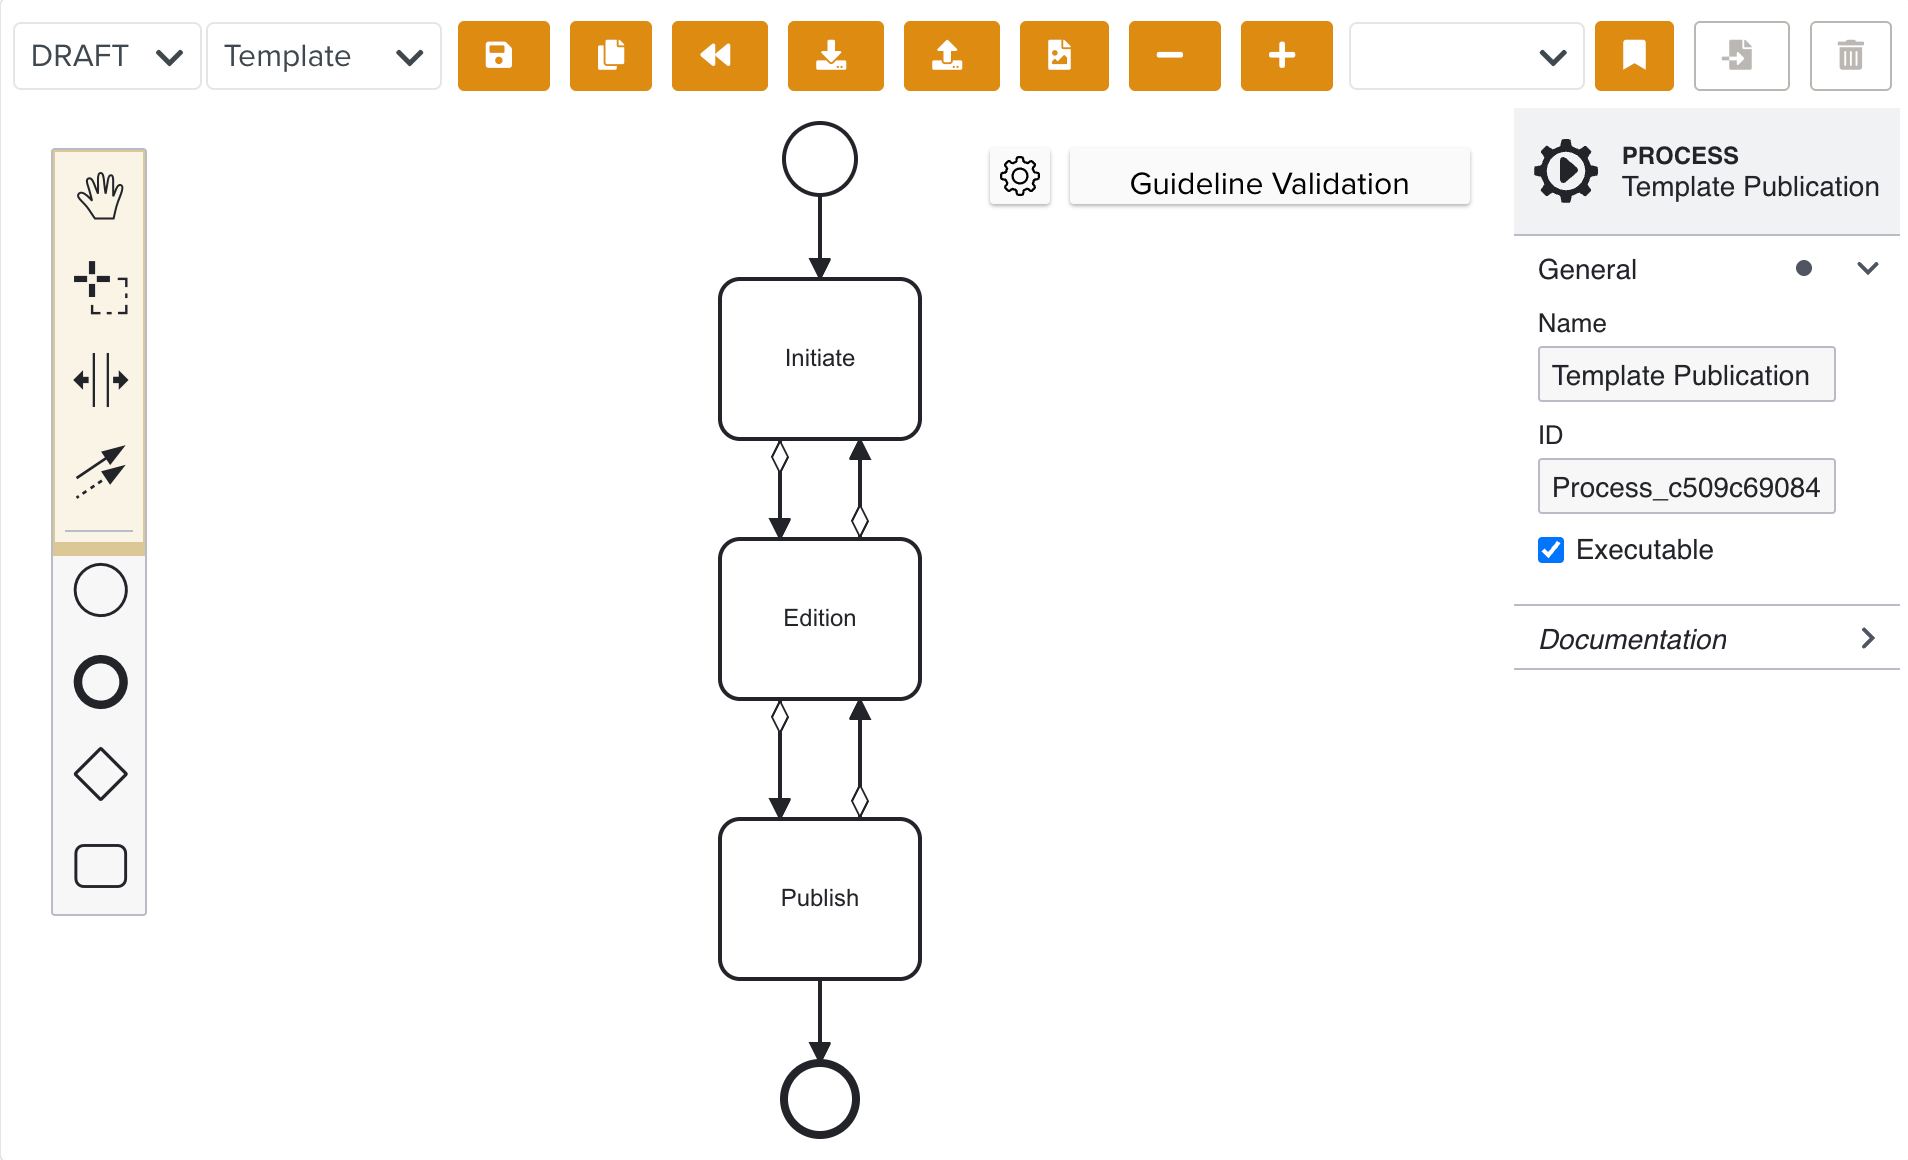
Drag the required elements from the UI panel to build a Custom Lifecycle.
The following buttons are available for use during the creation of a Custom Lifecycle:
Buttons
Description

Revert back to the last published Lifecycle version.
This button is enabled only when changes are made to the Lifecycle.

Download the Lifecycle in .bpml file.

Upload a Custom Lifecycle in .bpml format.

Save the Custom Lifecycle as a .svg file.

Enlarges the Lifecycle workflow to provide a more detailed view.

Reduces the Lifecycle workflow to display a broader view.
Click
 to save the Lifecycle.
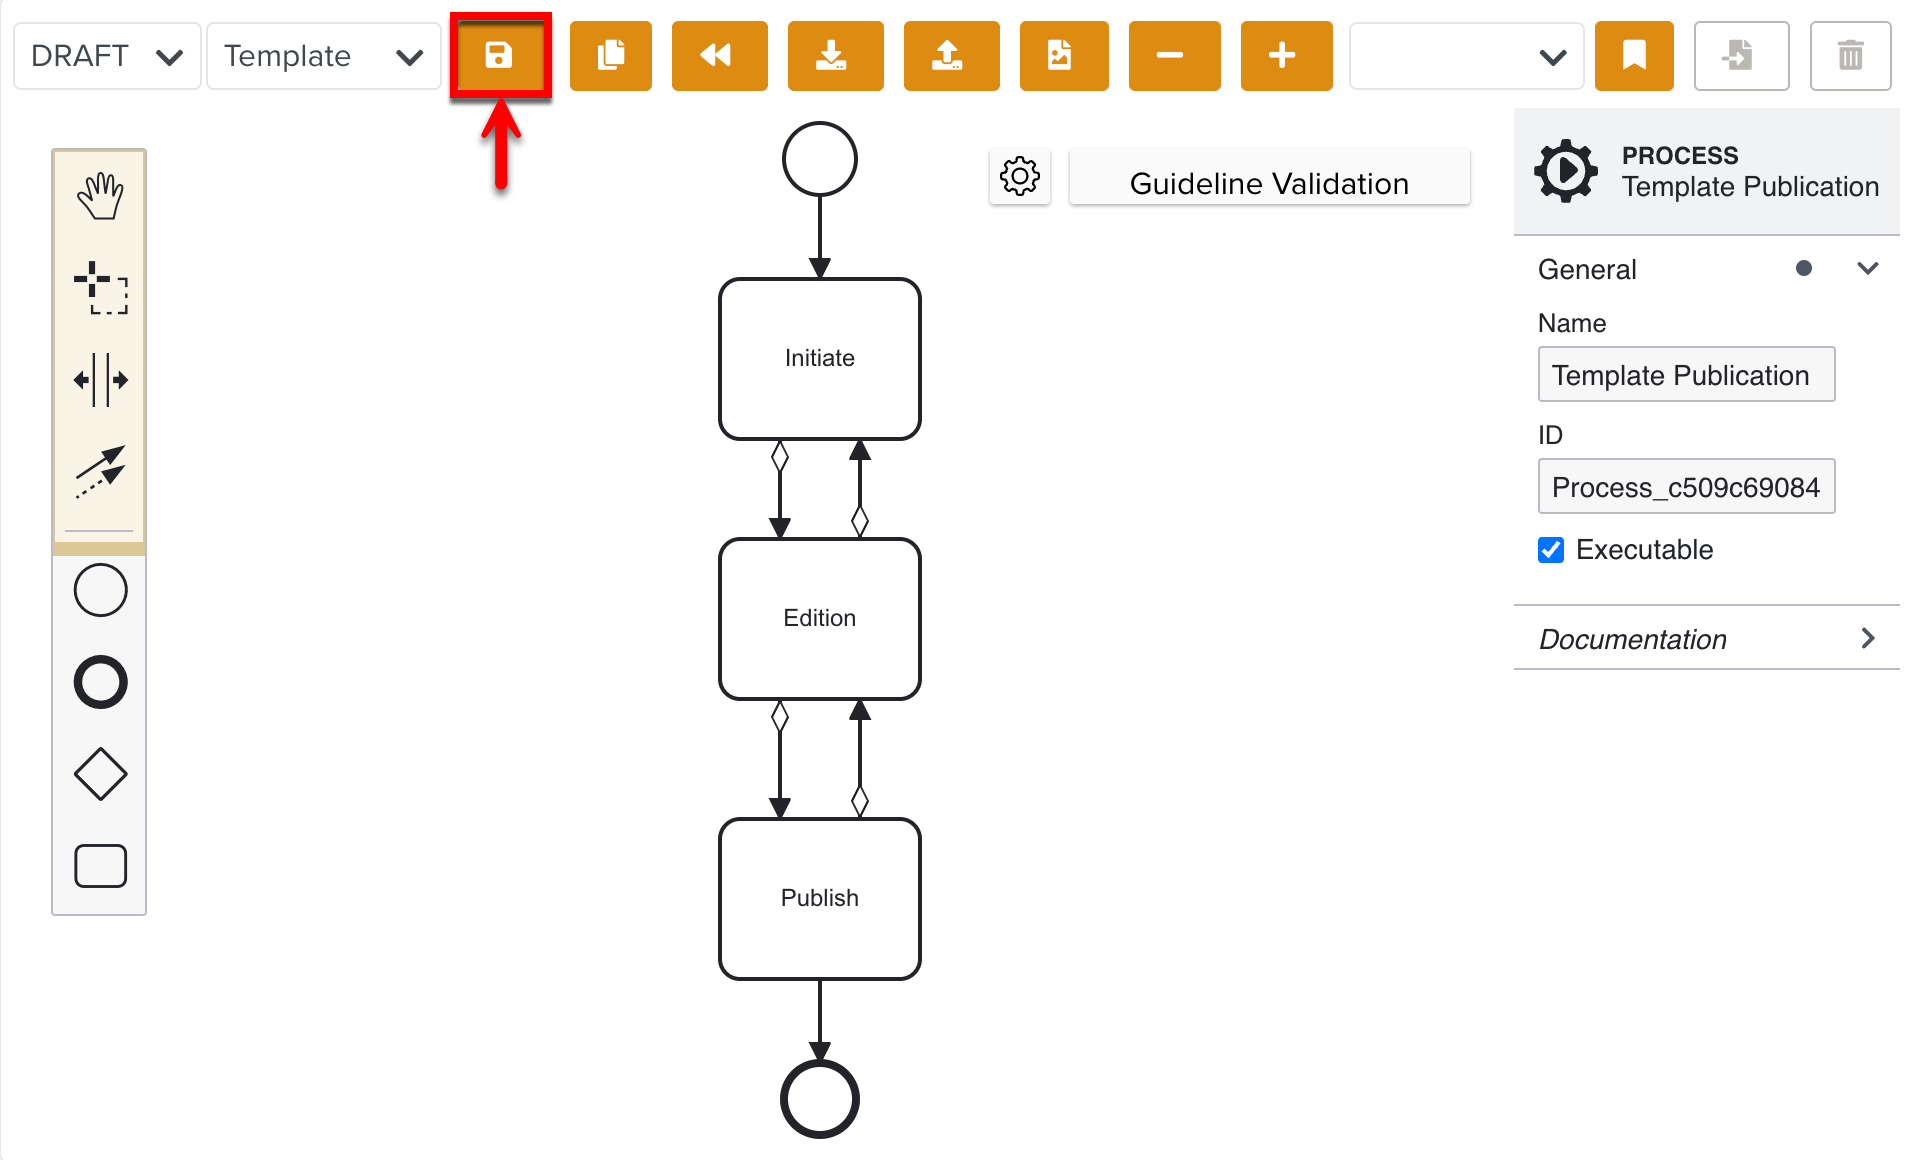
The Publish
 button is enabled only when the changes are saved.
Click
to publish the Lifecycle. A Lifecycle can only be used after it is published.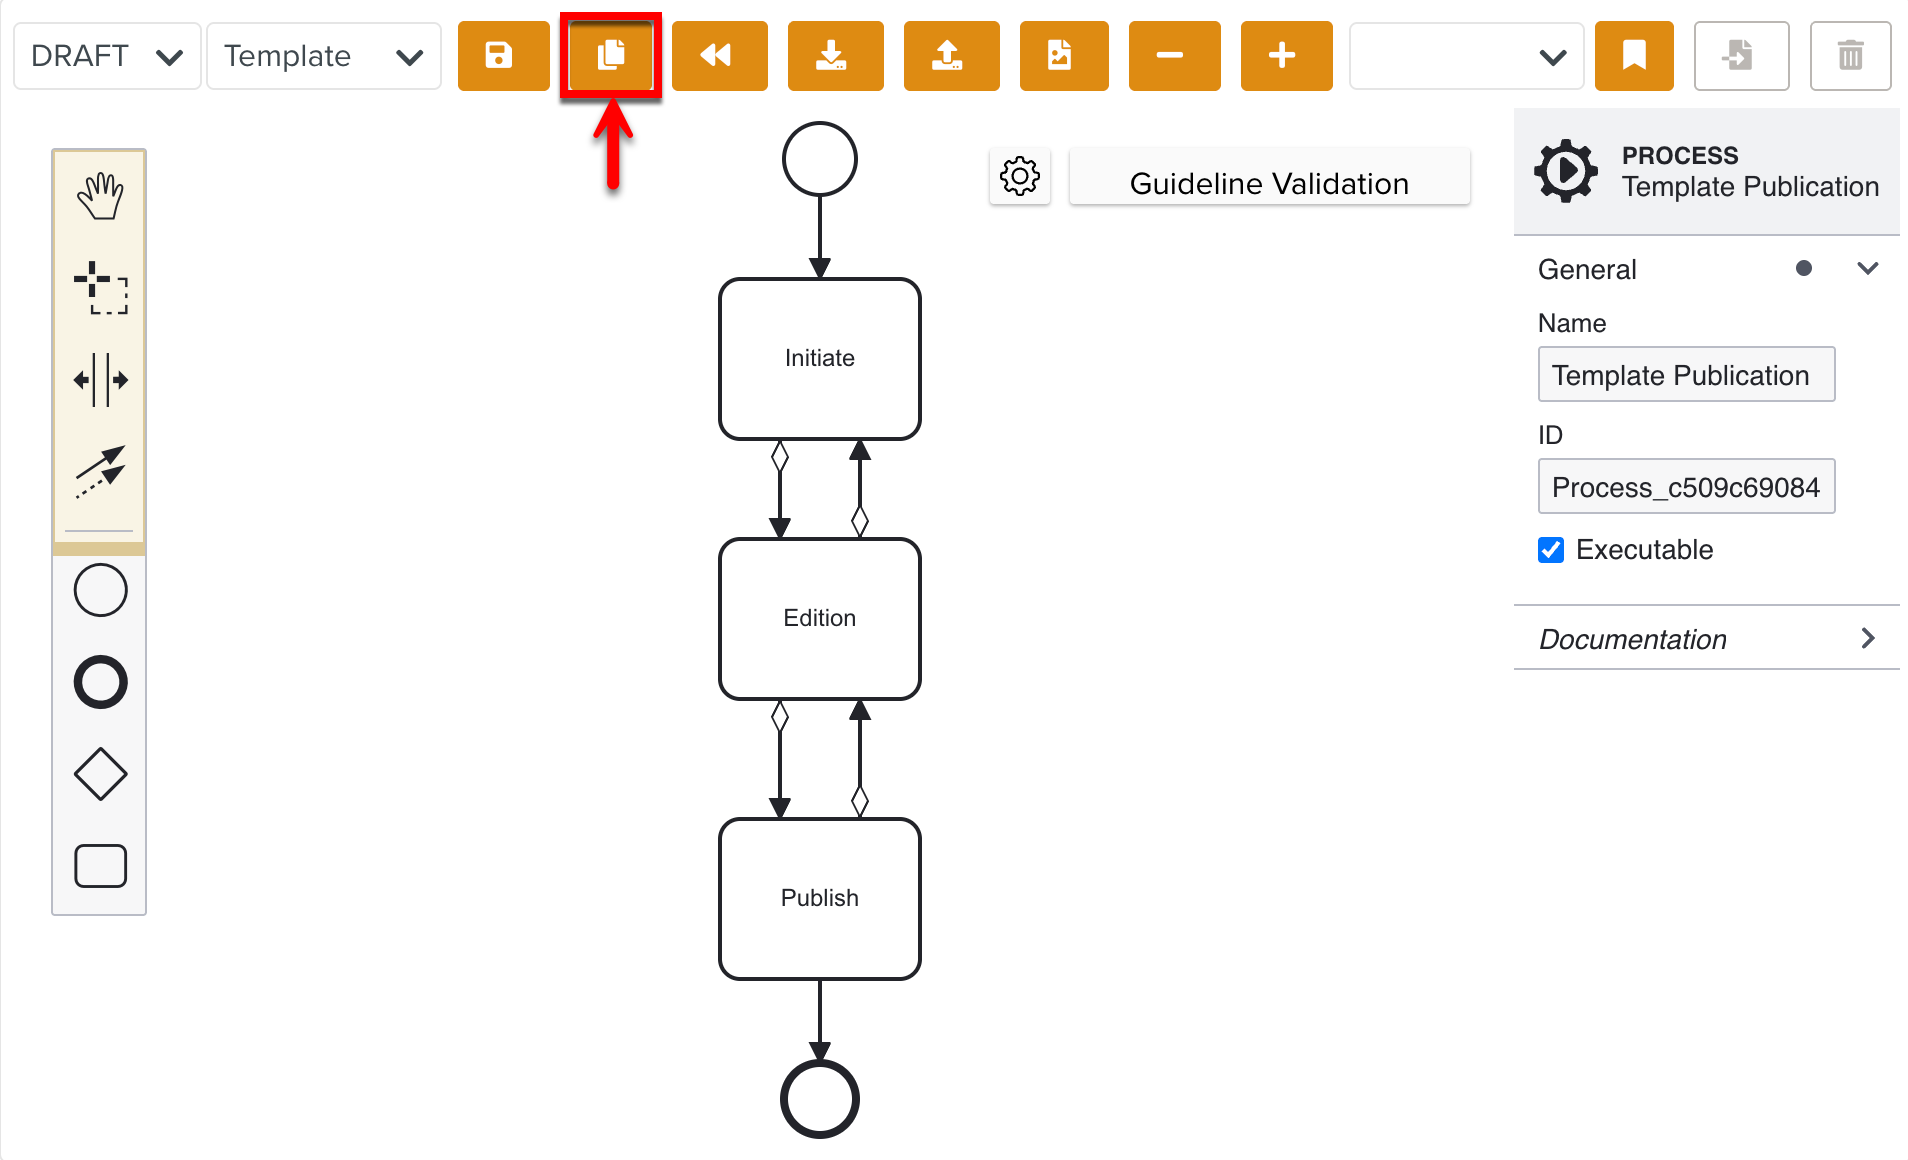
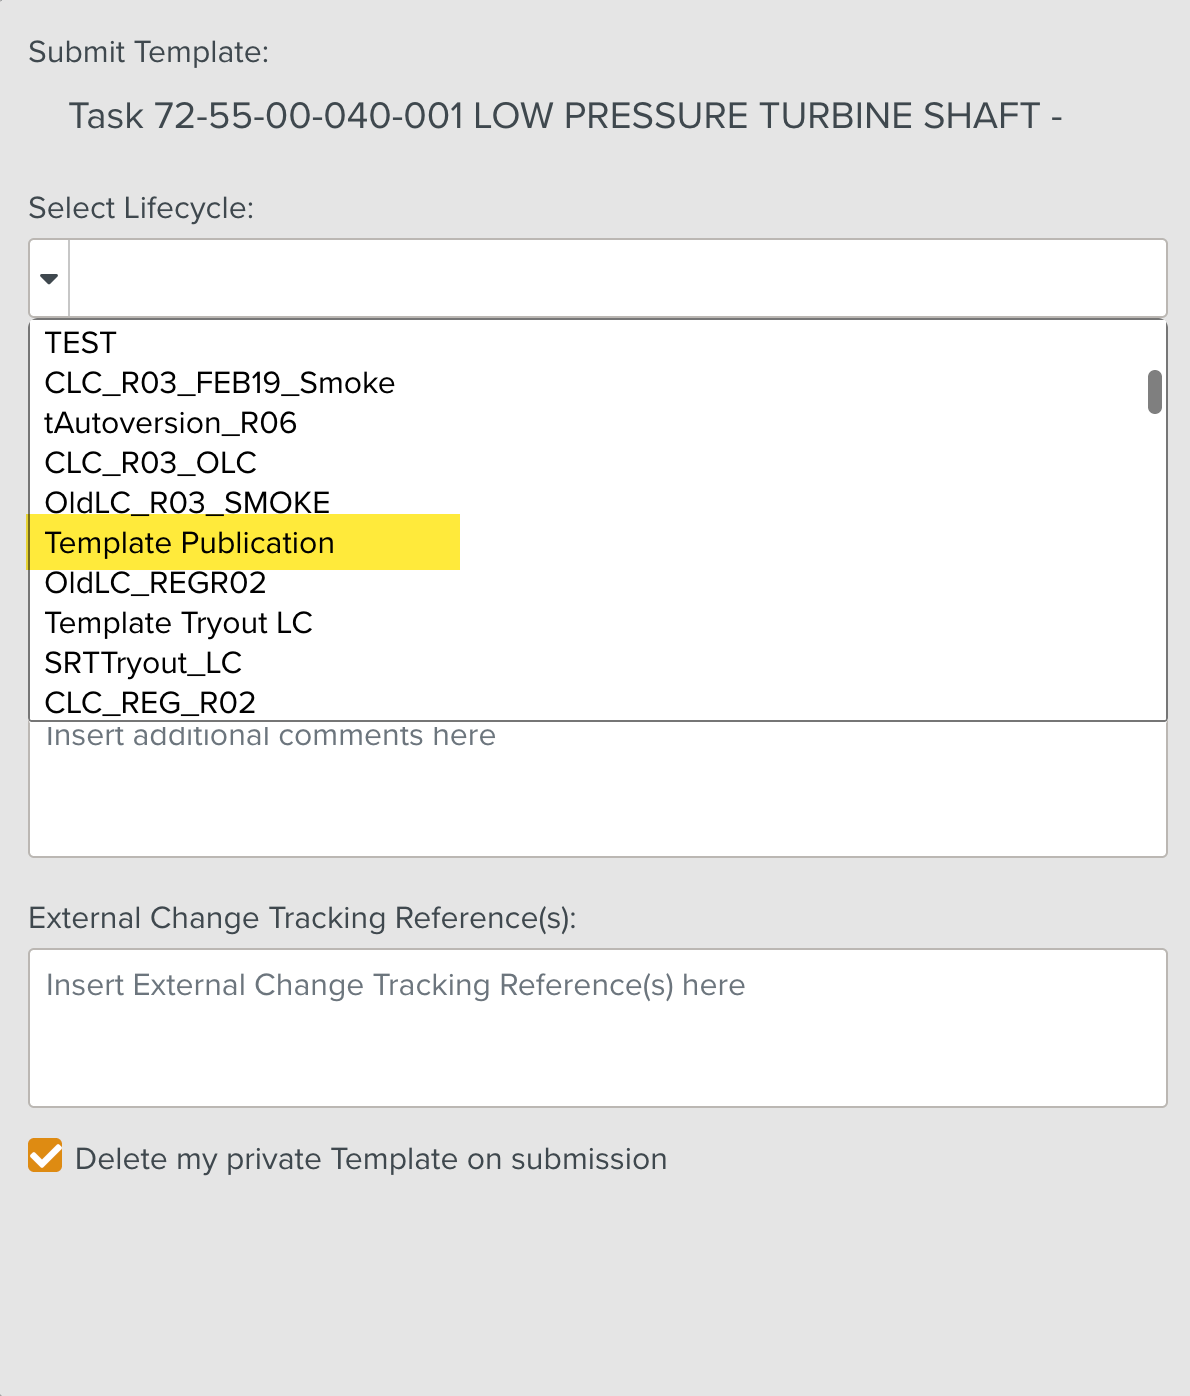
You have successfully created and published a Custom Lifecycle which can be used in the content approval process.
Note that the Battery Check Custom Lifecycle appears in the list of Lifecycles when submitting a Template to the Enterprise for Publication.
Note
There is a Guideline Validation feature, that checks the Custom Lifecycle dynamically as it is built and offers suggestions and highlights errors.